
Ready for more classroom pictures? If you haven't seen my first 2 classroom posts you can check them out here and here. I'm sharing the doorway wall with you today, and there is A LOT of stuff crammed into this wall. (Who am I kidding, there is a lot of stuff crammed into every wall!)

On the far left, I have the house/kitchen play area. Pretty standard space...dolls, high chair, cradle, stuffed animals, table & chairs, kitchen set, dishes, and food. A few things I do to help keep this area neat: I have 2 large tubs in the fridge to hold all the food and utensils. They are only about half full, so when the students are putting things away they don't have heaping bins to try and balance things in. I also don't put extra clothes out for the dolls - I used to but found that the dolls were always naked because they wouldn't have time to redress them during clean up time.

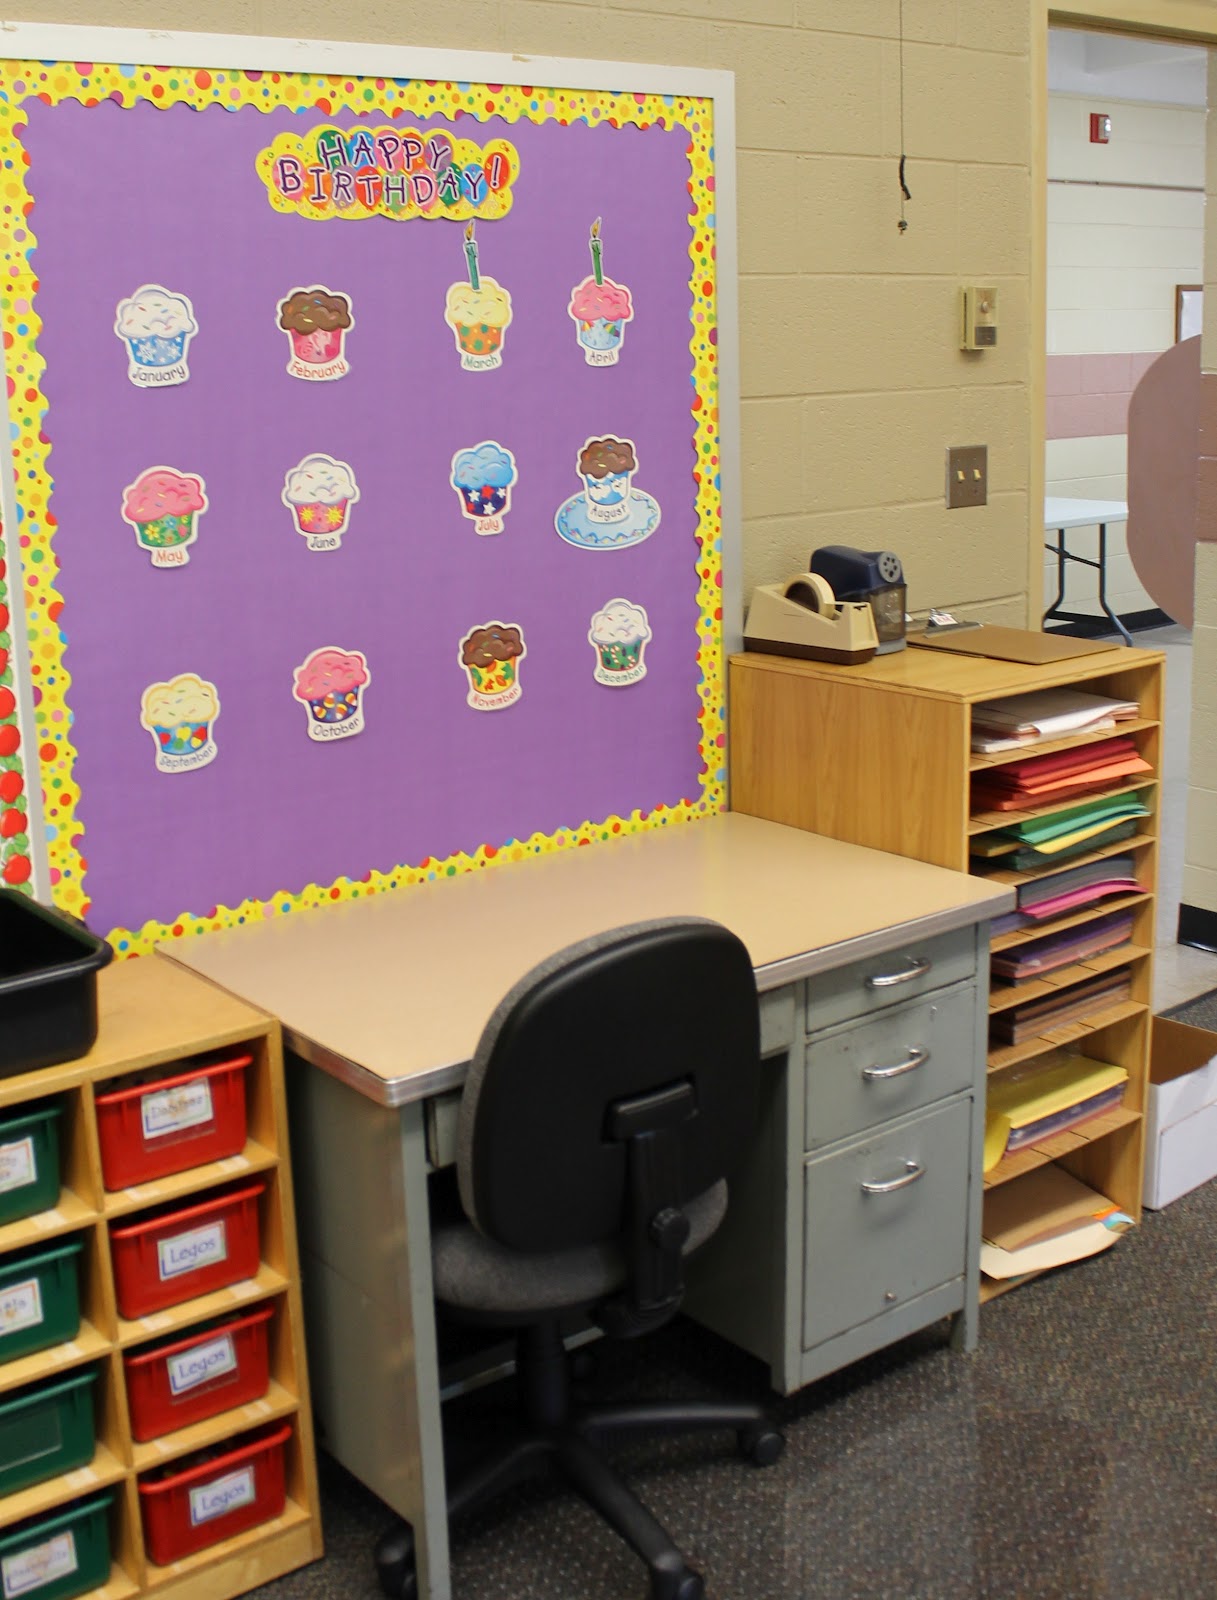
In the middle of the wall I have the children's mailboxes. This is one of the many projects I "hired" my dad to make. When I switched to Preschool, I needed a second set because I have morning and afternoon classes with a total of 35-40 students and they each need their own mailbox. I label them with a small laminated name card held to the inside wall of the mailbox with sticky tack. The black tub is for carrying our snack and milk to the room. The blue bins on the left hold Independent Center Time Activities and the red, green and yellow ones hold Craft Supplies. There are floor puzzles on the 2 shelves and the bins on the right hold Choice Time Activities...matchbox cars, Legos, animals, etc... For the label on each bin I found Self-Adhesive Business Card Holders at Office Max. Then I made the labels using Microsoft Publisher. The label just slides into the Holder and I can easily slide it out if I decide to change the contents of the bin. (So much better than using Packing Tape to attach a label to a bin!)

Next is my Aide's desk. (She hasn't been in to put her stuff on her desk yet.) You will notice that both my desk and hers have the front edge pushed up against the wall. This is a HUGE space saver. If I turned our desks around, the desk would have to sit way out in the room to make space for walking and sitting behind it. It truly is amazing how much extra space you will have if you can make this work in your space. Then, I have my Construction Paper Organizer. (It was another Dad project!) The shelves slide out so it's easy to get to what you need. On top of it, I keep clipboards with the bus charts on them. I also attach notes from parents to these so I remember that Johnny is getting picked up by Grandma instead of riding the bus and such.
The last thing to share with you here is my Shape wall. Just like the colors, I chose not to put them on an actual bulletin board. I use the green board below it to display monthly art projects (usually half of them fit and the rest go above our coat hooks in the hallway). Oh, and see the lovely bundle of cables and cords?? That's what happens when the school was built WAY before the days of computers and other technology in each classroom! There are holes drilled between each room and this is how they ran the wiring through the school.

So that's the latest installment of My Classroom Transformation. Tomorrow is our Open House so I probably won't be back until Thursday with more. Let me know if there is something you want more details about!
Thanks for stopping by!
~Anika
3 comments:
Your classroom looks awesome!! I can see all of your hard work. I especially love the fabric on the cieling, but am really surprised that your school allowed it. We wouldn't be able to.
Kara, I am lucky that our school is pretty open to things like that (it helps that the school is ancient!) We actually have several special ed rooms in the district that have fabric around the lights to mute it for autistic children - an argument you could use if you wanted to put fabric up! And, the velcro is barely noticeable when I take the fabric down. Also, if you have ceiling tiles, you can weave the fabric through the frame and it doesn't require gluing anything. :)
Well, I wish I could see the look on the children's faces when they walk into your room for the first time!! Have a wonderful year!
Post a Comment